Tile Your Bathroom Floor Like a Pro: The Ultimate Guide to Flawlessly Tiling Around Your Toilet (No More Awkward Gaps!)
Tile around a toilet like a Pro! Read this blog to find out how!
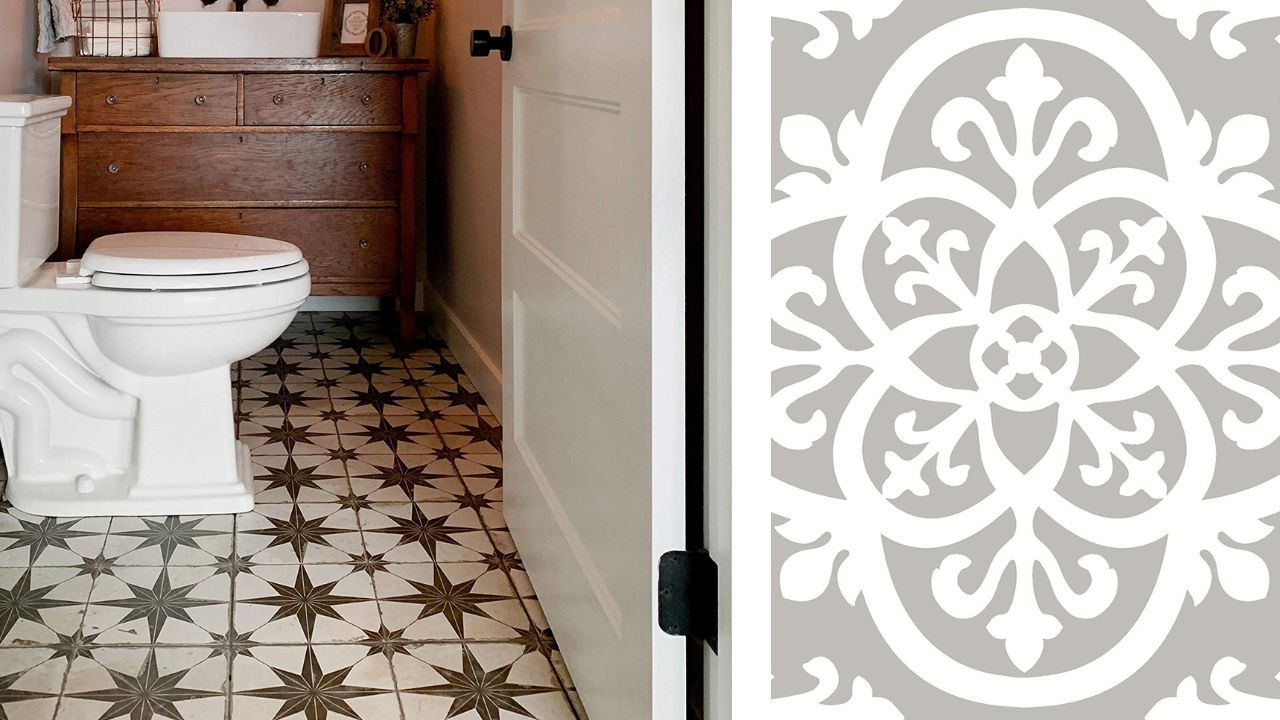
Welcome to the ultimate guide on how to tile a bathroom floor around a toilet! If you're like most people, the thought of tackling a tiling project can be overwhelming, especially when you have to work around the porcelain throne.
But fear not, my fellow DIYers, because with the right tools, techniques, and a little bit of patience, you can transform your bathroom into a worthy paradise. So grab your tiles, put on your favorite playlist, and let's get going!
Materials That You Will Need
Adhesive spreader
Tile scribe
Tile file or fine sandpaper
Tile nipper
Masking tape
Cloth
Pencil or felt tip pen
Scissors
Paper
Safety goggles or glasses
Gloves
Floor tiles
Adhesive
Instructions:
(The first thing that you want to do is to create a template for the part of the toilet that you are trying to tile).
1. Cut a piece of paper the same size as your tile.
2. Lay the paper next to the part of the toilet that you are trying to tile.
3. In the area where you come in contact with the toilet, cut several slits about 5mm or 10mm wide.
4. Slowly press down on each slit that is against the toilet. Draw a line with a pen or pencil along the shape of the bottom of the toilet area that you are trying to tile.
5. Remove the paper tile; and cut out your template drawing.
6. After you cut the template out; place it back next to the toilet to make sure that you drew it correctly.
7. Secure the template to the ceramic tile using some tape; and draw the shape of the toilet on the actual ceramic tile.
8. Press hard on the tile when drawing and/or score the tile with your template in place so that you can see the shape of the template on the tile.
9. Take a tile nipper (or any other tools that you like to cut tile with) and slowly chip or cut away until you get to the shape of the toilet area that you are trying to tile. Go very slowly while doing this part.
10. Use a tile file and/or fine sandpaper to smooth down the edges of your cut out shape.
11. Wipe the tile down with a damp cloth; and make sure it fits snugly against the toilet.
12. Keep repeating these steps making a template until you have tiled around the entire toilet.
Additional Way To Tile Your Floor In The Bathroom
Step 1: Gather Your Tools and Materials
Before you begin tiling, it is important to make sure that you have all of the necessary tools and materials on hand.
You will need tile adhesive, grout, sealer, spacers, a notched trowel, a measuring tape and a utility knife. Make sure that you purchase high-quality materials so that your tile job lasts for years to come.
Step 2: Preparing the Area
The first step in tiling your bathroom floor around the toilet is to prepare the area. Before beginning, make sure that there are no loose tiles or debris present in the area where you plan to tile.
If there are any loose tiles or debris present, use a putty knife or chisel to remove them from the surface. Once all of the debris has been removed from the surface, vacuum or sweep up any dust and dirt particles left behind.
Step 3: Installing Tile Around Toilet Flange
Once your surface is prepped and ready for tiling, it’s time to start installing tiles around the toilet flange. Start by laying out several tiles around the flange so that they form a circle or square pattern (depending on what looks best).
Make sure that each tile is spaced evenly apart using spacers before applying adhesive with a notched trowel to affix them in place. Once all of your tiles are installed around the flange, allow them to dry overnight before continuing on with your project.
Step 4: Grouting and Sealing Your Tiles
After allowing your tiles to dry overnight, it’s time to grout and seal them into place. Use a grout float (or rubber float) to apply the grout between each tile until the entire area is filled in with grout lines.
After allowing this layer of grout to dry for several hours or overnight (depending on which type of grout you used), use an applicator brush or sponge mop to apply sealer onto your newly installed tiles.
Allow this layer of sealer plenty of time to dry before putting heavy objects back onto your new tile surface.
There you have it! You now know how to properly tile a bathroom floor around a toilet! While some people may find this process daunting at first glance, it really isn’t too difficult once you break down each step into smaller tasks as outlined here today!
Good luck with tiling your own bathroom floor! And remember—if at any point during this process you find yourself feeling overwhelmed or uncertain about what comes next—hire an experienced professional who can help to make sure that your bathroom looks stunning once completed!
However, if you would like to tile your own bathroom floor today and do not know what tile to get, then click the button below to see what we have reviewed for you so that you can get started tiling your floor today!