This Is How You Can Create The Most Snuggly Photo Blanket Of Your Dreams!
If you are ready to make the most snuggly, cozy photo blanket of your dreams then read this so you can get started!
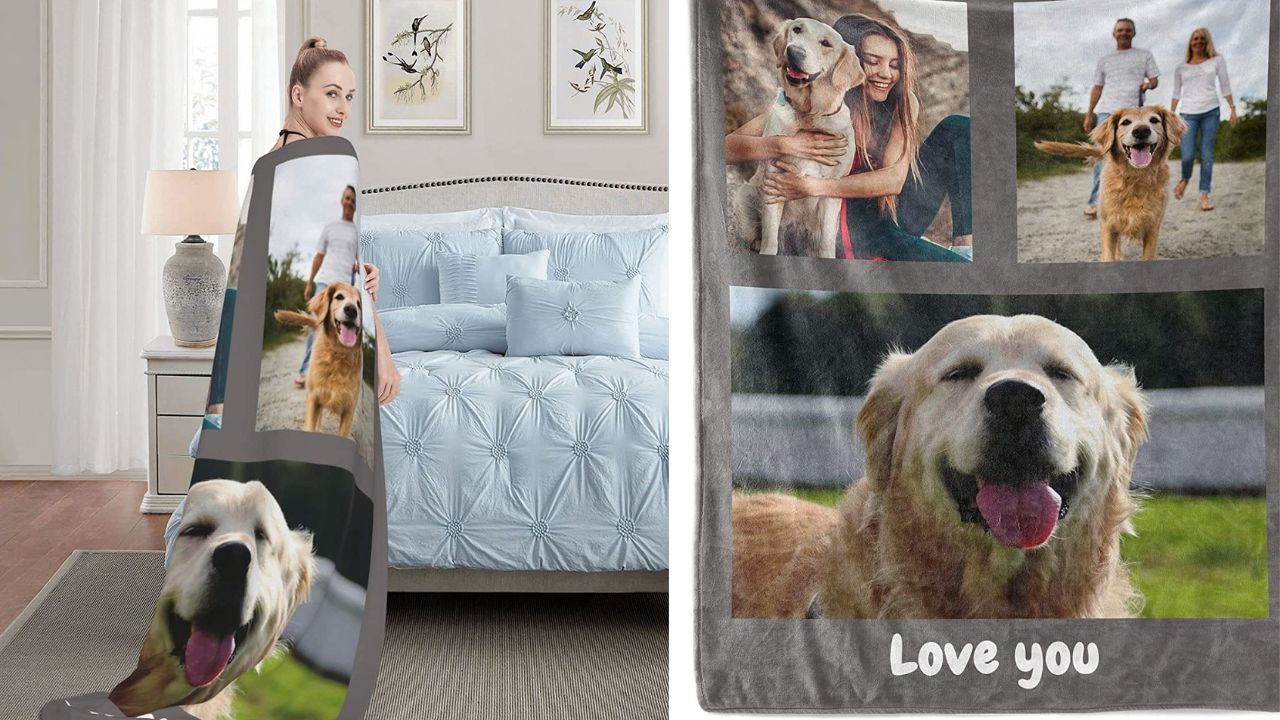
Are you looking for the perfect gift for a loved one? Picture blankets are the perfect way to turn your favorite photos into something tangible that you can use in your home. It is an amazing idea that will be sure to make them smile! Not sure how to make one? Don't worry! We've got you covered with this step-by-step guide on how to make a picture blanket. All you need is a few basic supplies and some creativity to make a one-of-a-kind gift that your loved one will cherish forever! So, grab your supplies and let's get started!
Materials That You Will Need
Photos
Blanket
Fabric Transfer Paper -available at many craft stores
Sewing machine or Thread and Needle
Scissors
Tassels or Fringe (If desired)
Step 1 – Choose Your Photos. First, decide which photo(s) you want to use for your picture blanket. Look through your photo albums or digital photo library and find one that speaks to you. If you want, you can choose multiple photos (either all with the same theme or different ones) or just go with one large image.
Step 2 – Prepare Your Photos. Once you’ve chosen the photos, edit them so that they are high-resolution, clear images without any graininess or blurriness. Also make sure that they are sized correctly; depending on the size of the blanket. It may be necessary to crop them or resize them slightly.
Step 3 – Select a Blanket Material. Now it’s time to choose which material will be used for your picture blanket—this is where things get really fun! There are many different materials available such as fleece, cotton, polyester blends, and more. Each fabric has different characteristics and advantages. Consider which type is best suited for your needs before making a final decision.
Step 4 – Print & Sew Your Blanket Together. Once you have all of your materials ready, it's time to start printing and sewing! Start by printing out each of your photos onto fabric transfer paper or iron-on transfer paper according to the instructions on the package. Make sure to reverse the image before printing if necessary. (Note: You can use an ink-jet printer and not a laser printer to print directly on special purpose iron-on transfer paper that can be applied to a blanket).
Then lay out each piece on top of your chosen fabric and sew together using a machine or by hand if desired. Finish off by trimming off any excess fabric from the edges of the blanket and adding tassels or fringe if desired!
Making a custom photo blanket is an easy way to add personality and coziness to any room in your home! With this step by step procedure; some creativity; some patience; and a trip to a few stores you can create your own beautiful and unique custom picture blanket. However, if you do not have the time to make a photo blanket by hand then click the button below to see which blankets that we have chosen for you so that a photo blanket company can help you professionally complete this project!