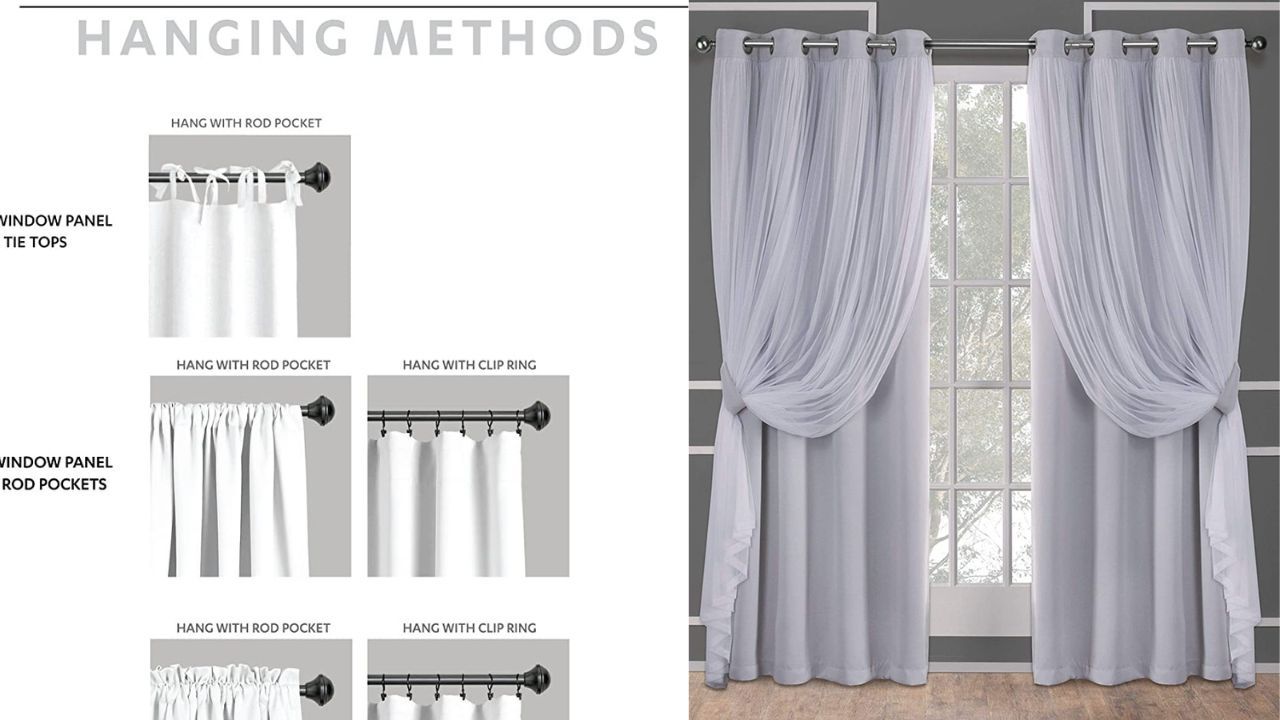
Simple Steps to Create Your Own Dreamy Blackout Curtains!
Follow these simple steps to create your own dreamy blackout curtains and you'll be ready to snooze in no time!

Are you looking for the perfect way to make your bedroom or the rooms in your home look cozy and dreamy? Well, you’re in the right place! Blackout curtains are the key to creating a space that’s inviting and peaceful—and it’s easier than you think to make your own. Here are some simple steps to help you create your own blackout curtains and get the look of your dreams. So, grab your fabric and sewing machine, and let’s get started!
Materials You Will Need
Fabric that is designed specifically for blackout curtains.
Curtain hooks or rods
Fabric scissors
Measuring tape
Thread and needle (or sewing machine)
Iron-on adhesive tape
The first thing you will need is fabric that is designed specifically for blackout curtains. Any fabric store should have this type of fabric available, and it usually comes in various colors and patterns so you can find something that matches your décor. In addition to fabric, you’ll need curtain hooks or rods, scissors, measuring tape, thread and needle (or a sewing machine), and iron-on adhesive tape.
Measuring & Cutting the Fabric
Once you have all of your supplies, begin by measuring the window frame where you plan on hanging the curtains. Measure both the width and height of the window frame as well as how far down from the top of the frame you want your curtain rod or hook to hang.
Make sure to add an inch or two extra when cutting out the pieces of fabric so that there is enough material to create hems on each side. After measuring and cutting out each piece separately (the backside panel should be slightly larger than the front panel), set them aside until they are ready to be sewn together.
Hemming & Sewing
To create a professional finish on each side of your curtain panels, hem them with iron-on adhesive tape before sewing them together. It is important that your hems are evenly spaced on all four sides so that when hung on the rod or hook, they look even from either side of the window frame.
Once hemmed, lay one piece of fabric directly over another piece (right sides facing each other). Pin along all four edges then sew together with a straight stitch using either a needle and thread or a sewing machine- whichever method works best for you! Be sure not to leave any gaps between stitches so that no light can sneak through once they are hung up!
Additional Way To Make the Blackout Curtains
1. Gather Your Supplies: To make your blackout curtains, you’ll need blackout fabric, a measuring tape, a pencil, fabric scissors, thread, pins, and a sewing machine.
2. Measure Your Windows: Measure the length and width of your windows and add four inches to each measurement. This will allow you to make sure your curtains are big enough to cover the whole window.
3. Cut the Fabric: Cut two pieces of fabric according to your measurements. Make sure to cut them in the same length and width.
4. Pin the Edges: Pin the two pieces of fabric together, with the wrong sides facing each other.
5. Sew the Edges: Sew the edges of the fabric together with a 1/2 inch seam allowance.
6. Hem the Edges: Turn the edges of the fabric over 1/2 inch and pin them. Sew them together, making sure to keep the edges even.
7. Add the Curtain Rod Pocket: Measure the width of the curtain rod and add four inches to the measurement. Cut a piece of fabric that is the same length as the top of the curtain and the width of the curtain rod plus four inches. Pin the fabric to the back of the curtain, and sew it on.
8. Hang the Curtain: Hang the curtain on the curtain rod and enjoy your new blackout curtains!
Making blackout curtains is a simple and a fun project that will give your room a cozy, luxurious feel.
If you’ve been dreaming of creating your own custom blackout curtains, you don’t have to wait any longer! And you don't have to be a professional seamstress or an interior decorator to create them. With these simple steps, you can create a set of blackout curtains that will help keep your home warm during the winter months and cool during those summer months!
Plus, you’ll be able to show off your creative skills and your unique window treatments to anyone who visits! So what are you waiting for? Get out those sewing tools and start making your own dreamy blackout curtains!
However, if you do not have time to make blackout curtains, then click the button below to see what curtains that we have reviewed for you that will still allow you to have some unique and beautiful window treatments throughout your home!

