DIY Your Way to More Privacy: How to Create a Stylish Window Screen in A Few Simple Steps
Do you know how to make a privacy window screen? If not, then read this blog to see how it is done- step by step!
Whether you're looking for a way to keep your living space private, or just wanting to spruce up your windows, making a privacy window screen is a great option. This project can be completed in a few hours and does not require any special tools or expertise. Follow along with this step-by-step guide for an easy and cost effective way to make your own DIY privacy window screen.
Step 1: Gather Your Materials
The first step in making your own privacy window screen is gathering all of the materials you will need. For this project, you will need a pair of scissors, fabric of your choice, dowel rods (or curtain rods), eye screws, two-inch nails, and a hammer. You may also want to have some glue on hand in case you need it. If you'd like to add more decorative elements to your window screen, such as ribbon or lace trim, feel free to include those materials in your list as well. Once you have all of the materials gathered together, move on to the next step.
Step 2: Measure and Cut Your Fabric
Once you have all of the necessary materials gathered together it's time to measure and cut the fabric for your window screen. Start by measuring the length of your window from top to bottom and subtracting one inch from that measurement. Then measure the width of the window from left to right and subtract one inch from that measurement too.
Once these measurements are taken, use them as guidelines when cutting out two panels from the fabric (one for each side of the window). Make sure that they are one inch shorter than each side respectively so they fit snugly against the frame without leaving any gaps where light could peak through. If desired, now is also a good time to iron out any wrinkles in the fabric before proceeding with the construction.
Step 3: Attach Dowel Rods
Once both pieces of fabric are cut out according to their respective measurements it's time to attach dowel rods or curtain rods across the top edge of each panel so they can be hung on either side of the window frame. To do this simply place two wide strips at equal intervals across the top edge (for example 6 inches apart) and pin them down into place using straight pins so they remain secure while attaching them together with glue or stitch work.
Once secured into place use eye screws at either end (or multiple eye screws between) which will act as points for hanging once construction has been completed. Make sure that these eye screws are firmly screwed into place so that when hung later on there won't be any worry about them coming loose over time due to weight or movement associated with opening/closing windows etc. Lastly, slide the dowel rod sections onto each eye screw until they are snugly fitted before moving on to assembling the panels together at the sides of the frame windows respectively.
Step 4: Assemble Panels Together
Finally, assemble both panels together at the sides frame respectively using two inch nails hammered securely into the woodwork around the edges ensuring there are not any gaps remaining between fabrics when closed shut during installation. Now hang up the panels onto the pre-installed eye screws until it is snugly secured against the frames left and right side windows respectively. Before tightening the screws further ensure that there is a secure fit during the installation process.
Alternative Way To Make A Privacy Screen
Are you looking for a way to add some privacy to a window in your house, but don't want to spend a fortune? Look no further – we've got a simple, affordable solution that you can DIY in no time! Here's how to create your own privacy screen for a window using just a few materials you probably already have lying around.
First, you'll need to decide what kind of material you'd like to use for your privacy screen. You can use anything from fabric to wood, or even a combination of the two! If you're looking for an easy and affordable option, try using a sheer curtain or a sheer fabric panel.
Next, you'll need to measure the window frame to make sure the panel will fit. Once you've got the measurements, cut the fabric or curtain panel to size. If you're using a fabric panel, you can also use a sewing machine to hem the edges.
Next, you'll need to attach the panel to the window. If your window has a rod, you can attach it directly to the rod with clips or small hooks. If not, you can use a tension rod to hang the panel from the top of the window.
Finally, you'll need to add some extra privacy. Try adding a fabric valance to the top of the panel for extra coverage. You can also use fabric tape or small magnets along the edges of the panel to keep it in place.
And that's it! You've just made yourself a stylish, affordable privacy screen for a window. With just a few materials and a little bit of creativity, you can easily add some extra privacy to any window in your house.
If you're looking for a fun and creative way to improve your home's privacy and style, DIYing a window screen is the perfect project! From choosing the right materials to installing your brand new window screen, you'll be able to create a one-of-a-kind piece that will look like it was created by a professional. Plus, it's an affordable and easy way to add a dose of privacy and flair to your home. So grab your tools, pick out the perfect fabric, and get to work on your own stylish window screen today!
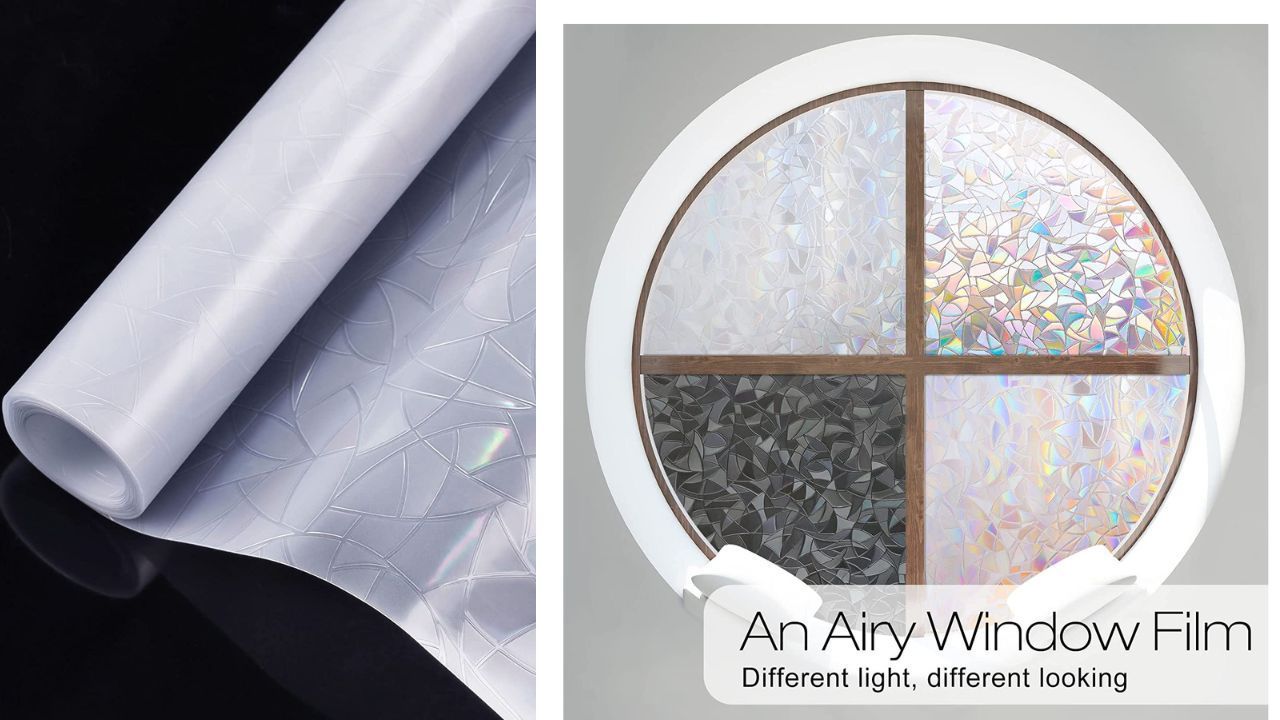
However, if you do not have the time to create a private window screen then click the button below to see what private window films that we have reviewed for you already that you can purchase today!