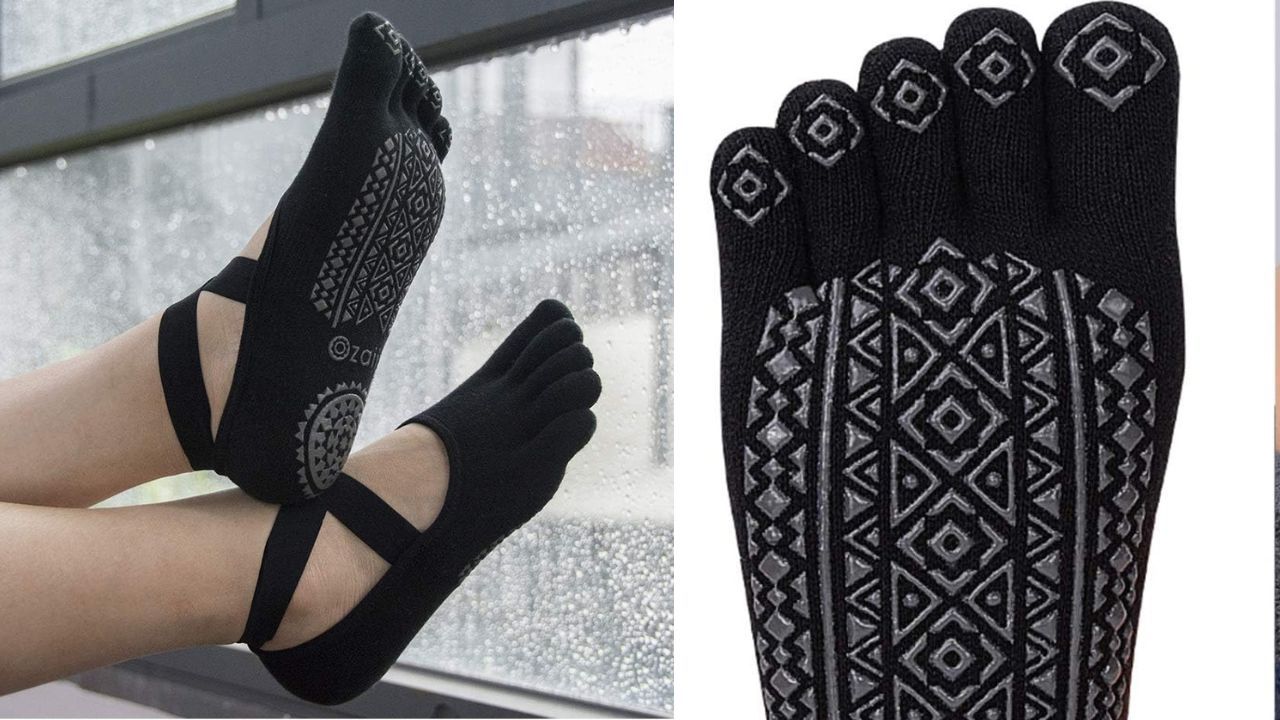
DIY Grip Socks: Step-By-Step Guide To Creating Your Customized Fitness Essential!
Embrace your crafty side and elevate your fitness experience by making your very own pair of grip socks! You must read to see!

Grip socks have become a must-have accessory for fitness enthusiasts, offering unparalleled stability and comfort during various physical activities. While there are plenty of brands offering an impressive array of grip socks, why not add a personal touch by creating your very own pair? In this DIY tutorial, we'll guide you through the process of making grip socks that cater to your style and needs. So, let's roll up our sleeves and get crafty!
Materials You'll Need:
- Plain Socks: Choose a pair of high-quality, breathable, and stretchy socks as your base. Ankle or crew length socks work best for this project.
- Fabric Paint or Non-Slip Fabric Adhesive: You can opt for non-toxic fabric paint or non-slip fabric adhesive with a strong grip. Both options work well for providing traction on the soles of your socks.
- Cardboard or Thick Paper: This will be used to create stencils or templates for your grip patterns.
- Paintbrushes: If you choose fabric paint, you'll need small paintbrushes for precise application.
- Scissors: To create your stencil and trim any excess fabric.
- Painter's Tape: Useful for securing the stencil in place while you work.
- Newspaper or Old Cloth: To protect your work surface from paint spills.
Step 1: Design Your Grip Pattern
Before you start crafting, decide on the grip pattern you want for your socks. Popular choices include dots, lines, hexagons, or any custom design that suits your taste. Draw your chosen pattern on a piece of cardboard or thick paper, and cut it out to create your stencil.
Step 2: Prepare Your Work Area
Lay down newspaper or an old cloth to protect your work surface from any accidental spills or smudges.
Step 3: Insert Cardboard Inside the Socks
To prevent the paint or adhesive from bleeding through to the other side, insert a piece of cardboard inside each sock.
Step 4: Position the Stencil and Secure with Painter's Tape
Place your stencil on the sole of one sock, positioning it where you want the grip pattern to appear. Secure the stencil in place using painter's tape.
Step 5: Apply Fabric Paint or Adhesive
If you're using fabric paint, dip your paintbrush into the paint and carefully fill in the stencil with your chosen grip pattern. If you're using non-slip fabric adhesive, follow the instructions on the packaging and apply it within the stencil area.
Step 6: Let It Dry
Allow the paint or adhesive to dry completely before moving on to the other sock.
Step 7: Repeat for the Other Sock
Once the first sock is fully dry, repeat the process for the other sock, ensuring that your grip patterns match on both socks.
Step 8: Touch Up and Clean
Inspect your grip patterns for any imperfections, and touch up if needed. Clean your paintbrushes and any spilled paint or adhesive according to the product instructions.
Step 9: Cure the Grip
To enhance the longevity and durability of your grip, follow any curing instructions provided with the fabric paint or adhesive. This step may involve heat-setting the paint or adhesive.
Step 10: Test Your DIY Grip Socks
After the curing process, your custom-made grip socks are ready to be tested! Put them on and try them out during your favorite workouts to see how they perform.
Final Thoughts:
With your very own DIY grip socks, you not only enjoy the benefits of enhanced stability and comfort during your fitness routines but also showcase your creative flair.
However, if you do not have time to make a pair of grip socks, then click the button below to see which grip socks that we have chosen just for you so you can still experiment with different grip patterns, colors, and sock styles! Happy shopping!

