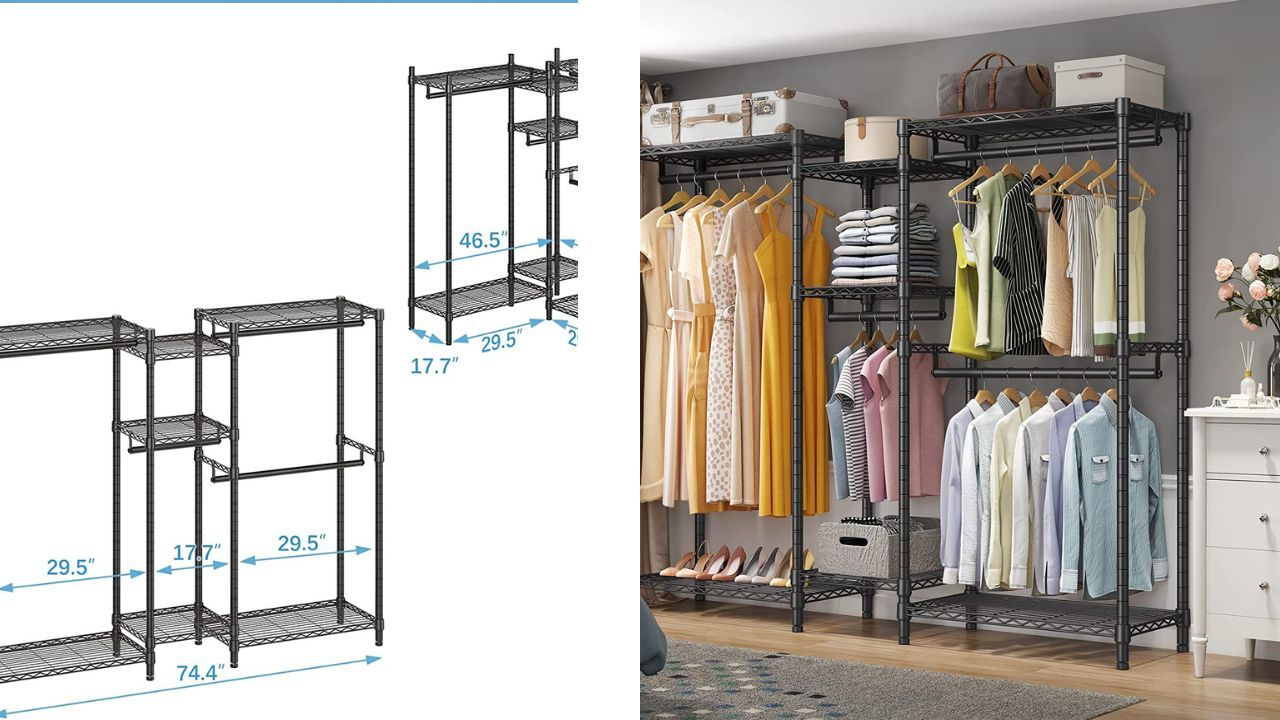
DIY Closet Organizer: How to Build a Closet Organizer from Scratch
DIY a closet organizer and regain control of your wardrobe, bedroom, and ultimately your life! Read this blog to see how!

Are you done the constant battle with your closet, trying to stuff more and more items in while they continue to pour out the moment you open the door?
Have you tried just about every closet-organizing trick, and yet you still find yourself knee-deep in clutter? If so, you’re in the right place! Today, we’re discussing how to build an effective, DIY closet organizer from scratch.
Building the Closet Organizer from Scratch
Building the closet organizer from scratch is a rewarding yet a challenging process.
Depending on the size and shape of the space, it can require a variety of specialized tools and construction techniques to get the job done right.
It’s important to consider which skills and materials you have available, as this will ultimately determine how you approach the build.
One option is to consult experienced contractors for advice and assistance. This comes with the benefit of access to specialized tools and materials, as well as an expert eye for design.
Though it might be more expensive upfront, paying for a professional’s help can lead to faster results and better quality workmanship in the end.
Alternatively, DIYers looking for a challenge could opt to source their own materials and tackle the project independently. Like any home improvement project, it requires planning, dedication, and problem-solving abilities on your part.
With the right preparation and research, building your own closet organizer may be more achievable than you think!
Gathering Materials & Tools Needed
Having the right materials and tools for the job is essential, as it will make constructing the organizer much easier.
•Wood: You’ll need wood for the frame, shelves and possibly drawers. Choose a wood that is sturdy yet lightweight so it can support all of your items in the closet. A popular choice is plywood as it is both durable and easy to work with.
•Nails or screws: You will need nails or screws to attach the pieces of the frame together. Use strong, durable nails or screws that won’t easily break and will ensure the structure of your closet holds up.
•Tools: You’ll need basic tools such as a hammer, saw, drill, tape measure, screwdriver and level to build the frame of your closet organizer.
•Hardware: To install the shelves and drawers, you will need hardware such as dowels, handles and slides. Research different types of hardware so that you choose the best solution for your closet organizer.
•Paint/Finishing Materials: Once you have built your closet organizer, you may want to add a protective finish or paint it to match your décor.
Building The Closet Organizer
1.Before you begin: Make sure to gather all the necessary materials.
2. Measure the Closet Space: Make sure to accurately measure the dimensions of your closet space so that your closet organizer fits perfectly.
3. Cut Your Wood Panels: Based on the measurements you took, draw out lines on the wood so that you can cut pieces to the right sizes. Use a saw to cut them out and prepare goods for assembly.
4. Assemble the Frames: Once you have cut all of your pieces out, assemble them into two frames - one shorter frame for the bottom of your closet and one taller frame for the top – by screwing them together with the necessary fasteners from your hardware kit.
5. Drill Holes for Shelves & Hang Hooks: Using a drill bit smaller than the screws you plan to use for shelves, drill holes into both frames in order to attach the shelves later on.
You can also hang hooks from here as well in order to hang clothes or accessories.
6. Attach Top Frame To Wall: Using a stud finder, locate a wall stud along either side wall of your closet space and securely attach the top frame of your organizer to it with the necessary screws.
7. Attach Bottom Frame To Wall & To Top Frame: Next attach both sides of your bottom frame to a wall stud using screws, then attach it securely to the top frame with additional screws as well.
8. Add Shelves & Hang Hooks: Now you are ready to attach shelves using appropriate screws and add hooks as needed in order to organize hats, clothing and accessories in your new DIY closet organizer!
Gather together saws for cutting, screws for connecting pieces, a drill for creating holes, and whatever else is needed to put together the closet organizer you designed.
Depending on the material you have chosen, you may also need additional supplies such as steel wool to smooth out any sharp edges once you are done sanding.
Tools such as levels and T-squares are ideal if you want your closet to come out straight and level. Make sure to also stock up on nuts, bolts, nails, brackets and other hardware that could be called upon during assembly of the project.
In addition, you should double check that all the components that you purchased are in good condition before attempting to assemble anything.
Quality control is important since inferior products could affect how well your closet will work in the future.
By gathering all of the necessary materials and tools beforehand, you can rest assured that your DIY closet will turn out right the first time.
With this important stage behind you, the next step would be to start making each of the pieces for your freshly designed closet system.
And There you go! You have built a closet organizer that will make you feel good and give you peace of mind!
However, if you cannot build a closet organizer and do not know what closet organizer to purchase then click the button below. See what we have researched and reviewed just for you so that you can get a closet organizer today!

