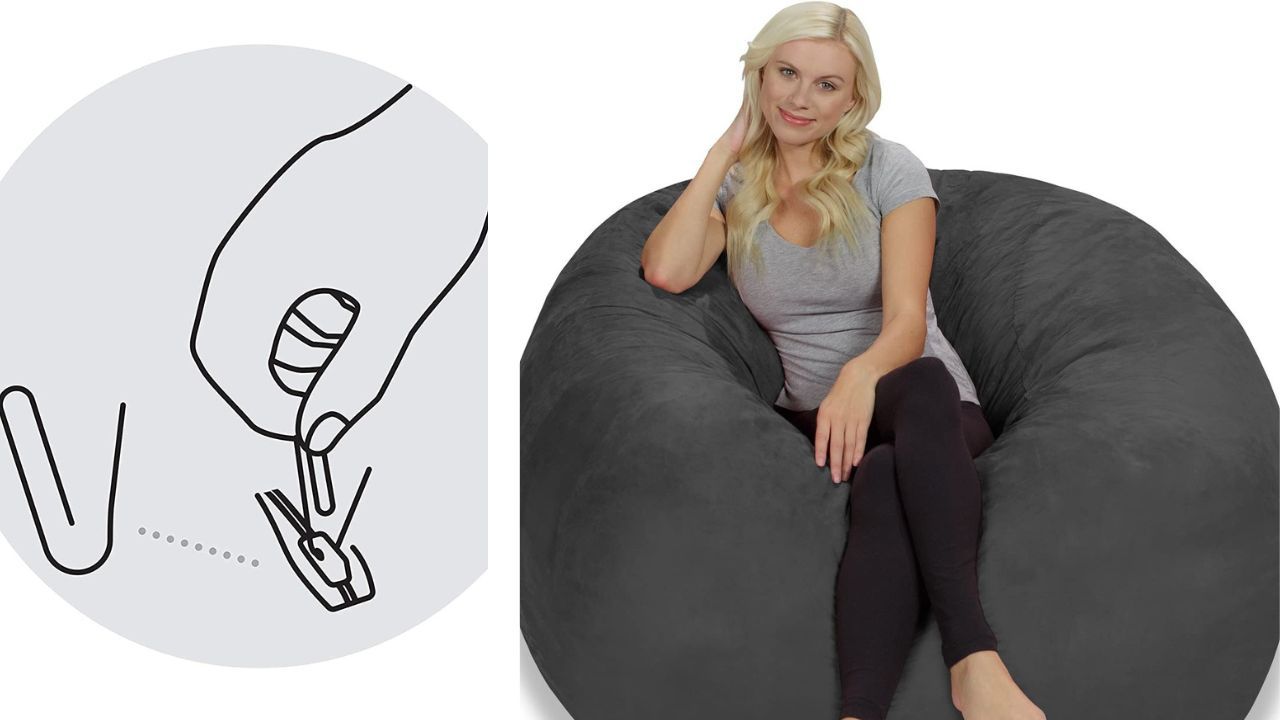
DIY Bean Bag Chair: Step-by-Step Guide to Making Your Own
Surprise your family with a plush comfortable chair that they can lay in and have fun with- DIY a Bean Bag Chair!

Are you ready to create your own piece of cozy heaven? It's time to DIY a bean bag chair! Whether you want to surprise your kids with a plush comfortable object they can lounge in, or you want something to spice up your home theater, a bean bag chair is an excellent choice.
And if you are familiar with some sewing basics and can follow clear instructions, you’ll be able to put together the right equipment and create the perfect bean bag chair in no time. Want to give it a go? Let’s get to it!
When it comes to fabric, there are a lot of choices available. Faux suede or velvet gives a luxe look and feel, cotton twill is very sturdy, and breathable linen is perfect for warmer climates.
There are also some eco-friendly options out there such as organic cotton or hemp that are both attractive and good for the environment.
Regardless of which material you select, you’ll want to measure twice and buy enough yardage to cover both large pieces of the beanbag chair.
In terms of filling materials, polystyrene pebbles or beads offer superior cushioning and shape retention compared to other liners like foam or batting.
Polystyrene is not considered biodegradable, but if you can't find recycled polystyrene options near you, you can use alternatives such as micro beads, foam filling or memory foam.
No matter what types of fabric and fillers you choose, having high quality materials on hand will help ensure that your DIY bean bag chair turns out looking great and feeling even better!
Materials needed to make a bean bag chair include:
Fabric: Enough fabric for the size of the bean bag chair you want to make. Consider choosing one that is durable and easy to clean, such as canvas or twill.
* Thread: Make sure you choose a thread that matches the color of your fabric.
Synthetic filler: This material is usually foam, polyester fiberfill, or recycled plastic pellets. Research which option works best for the type of bean bag chair you want to create.
* Zipper: Buy a heavy-duty zipper to ensure that all the contents of your bean bag chair stay inside.
* Separators (optional): If you want to create sections in your bean bag chair and are working with recycled plastic pellets, then consider buying separators.
* Stickers (optional): If you want to personalize your bean bag chair and have some colorful stickers available, use them to add more flair!
Here are a few helpful tips and tricks for making the perfect bean bag chair:
1. Start with the right materials. Use a sturdy fabric such as canvas or denim, along with high-quality foam filling to ensure your finished product is comfortable and durable.
2. Measure twice, cut once. Being precise with measurements is essential in order to get the size of your bean bag chair just right. Take the time to measure and cut each piece with precision before you start sewing them together.
3. Choose the right stitching method. To secure the pieces of your bean bag chair together, use zigzag stitches or a straight stitch–which both provide strong seams without causing puckering. Whichever option you choose, make sure you test it out on scrap material first!
4. Maximize comfort. When it comes to the stuffing, use smaller bits of foam instead of large chunks in order to create an even distribution throughout the chair. You can also add extra cushioning like shredded foam or pillow fillers for maximum comfort.
5. Test it out. Before adding any finishing touches, sit in the bean bag chair for a few minutes to make sure that it’s comfortable enough for regular use. Adjustments can be made until it fits just right–so don't rush!
You are now a DIY Bean Bag Pro! Congratulations! You can now show everyone your new finished product; and be proud of it!
However, if you do not have the time to make a bean bag chair; then click the button to see what we have reviewed and found just for you!

