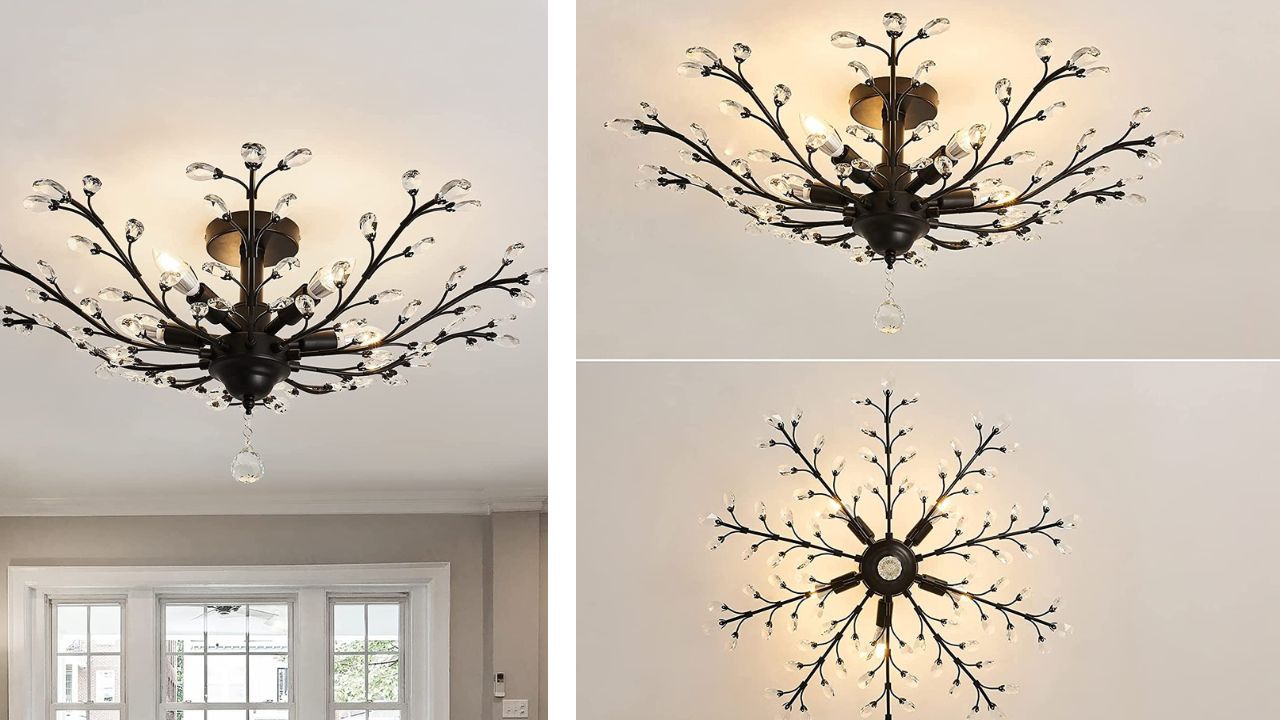
9 Easy Steps to Hang a Chandelier and Light Up Your Room Like a Pro!
Don't be intimidated by installing a chandelier! Read this blog to see how to hang a chandelier like a pro and light up your room in no time!

Are you looking to add the perfect finishing touch to your room? Do you want to add a bit of glamor to your home? Look no further! Chandeliers are an elegant and timeless way to light up any room. Whether you’re looking to add a touch of sophistication to your home or just need more lighting in your living space, installing a chandelier is an easy way to do this; and it doesn't have to be intimidating or pricey. We have put together some easy steps to help you hang a chandelier like a pro and light up your room in no time!
You Will Need The Following Tools And Materials:
Chandelier
Drill
Measuring Tape
Screwdriver
Wire strippers
Needle nose pliers
Light bulb for fixture
Step 1.Read the instructions/guide first that comes with the chandelier.
Step 2. Using a cloth, make sure to wipe the chandelier so that no fingerprints are left behind.
Step 3. To hang your chandelier, you must first calculate and measure how much chain you will need. The bottom of the fixture should be positioned between 30 and 36 inches above your dining room table.
Step 4. Ensure that you switch off the electricity at your home's breaker box. To make sure the power is off, turn the light switch on and off in the room where you are installing the chandelier.
Step 5. Disconnect the old light fixture and inspect the wiring to check if it is sufficient to connect the new light. If there are not enough connections, strip the wires.
Step 6. Check the electrical box to ensure it is securely attached to the ceiling. Tighten any screws if needed. If the chandelier weighs more than 50 pounds, it must be fastened to a ceiling joist or an electrical box with suitable bracing.
Step 7. To install the chandelier, secure the mounting bracket to the electrical box or thread the mounting stem of the light into a metal strap which is connected to the box. Depending on the type of light you have, the procedure may vary.
Step 8. Twist the black supply wire with the hot side wire of the fixture using the caps provided. Connect the white wires to the neutral wire of the fixture. After making the connections, push the wiring into the electrical box.
Step 9. To install the chandelier, first secure the canopy part with the screws provided. Afterwards, add the correct bulbs to finish the installation.
Turn the power back on and enjoy the beautiful light. You’re done! Now you can bask in the warm glow of your newly hung chandelier!
With these nine easy steps, hanging a chandelier is a breeze. You’ll be lighting up your room like a pro in no time!
Additional Way To Hang A Chandelier
Gather Your Supplies
Before starting, make sure you have all the supplies you need. You will need the chandelier, mounting hardware (including screws and anchors if necessary), wire cutter/ stripper, Phillips head screwdriver, leveler, ladder, electrical tape, and wire nuts. Depending on the type of chandelier and where you’re installing it, you may also need other tools like an adjustable wrench or drill.
Prepare the Room
Turn off power at the circuit breaker box before doing any work. You should also remove furniture that may be blocking access to the ceiling fixture area or anything else that may get in your way during installation. It’s also important to make sure there is adequate space around your chandelier so it won’t interfere with other fixtures or obstruct traffic flow in the room.
Install Mounting Hardware
Using either anchors or screws depending on what type of ceiling material you have (drywall or wood), attach mounting hardware securely into place following instructions included in your package. Make sure that these are installed correctly because they will support the weight of your chandelier. Once complete, connect the wiring from the ceiling to those mounting brackets using electrical tape and wire nuts. Set aside extra wire if necessary for future adjustments.
Hang Your Chandelier
Position your ladder beneath the fixture area so that you can easily reach up to install it onto the mounting hardware with one hand while supporting it with another hand if needed. Use a leveler tool if available so that your fixture hangs evenly once installed completely. This will ensure that light shines evenly throughout the room when lit up later on! Attach the remaining wires from both ends of your fixture together using electrical tape; and wire the nuts before placing the caps back over them.
If you've been dreaming of a beautiful chandelier in your room, then you can make that dream a reality with these easy steps! You now have the knowledge to light up your room like a pro, with a stunning chandelier that's sure to make a statement. However, if you do not know which chandelier to hang in your home then click the button below to see what we have reviewed for you on Amazon so that you can purchase a chandelier today!

